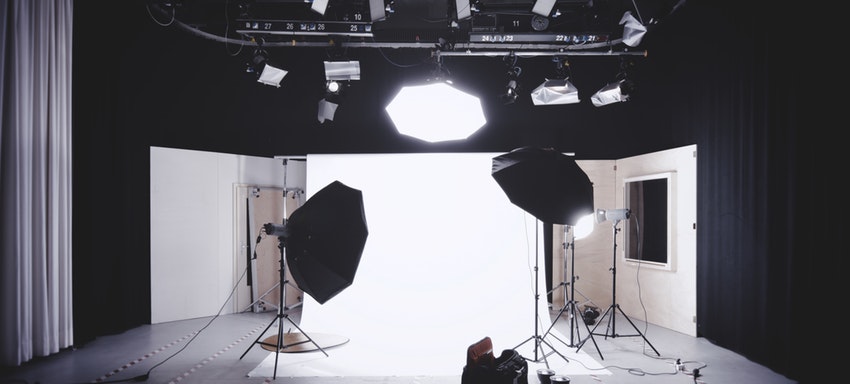
Clicking professional quality photographs of the products or in simple terms doing product photography, might sound quite intimidating to someone who has just begun selling online. There are many questions that would bother someone who is new to selling products online; Will the photos look clear once online? What if the image quality does not match up to the expectations?
When you are selling online, a large number of visitors are expected to browse your products. First impression matters. If the product images does not mach up to the standards, it does not appeal to the visitors. There is a chance they might not feel confident enough to buy from your website, ever again.
Here are some quick steps to get you started with your product photography lest you are petrified.
What are the things you should keep in mind while doing product photography?
1. Camera
Remember, you do not always need a high-end camera and studio equipment for basic product photography. If you are just starting out online, a good camera, proper lighting and a mug of coffee is all you need; coffee being a matter of your choice.
What camera should you use? Here is a list (in no particular order) of some of the best cameras to start with.
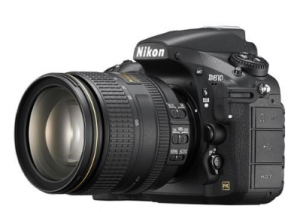
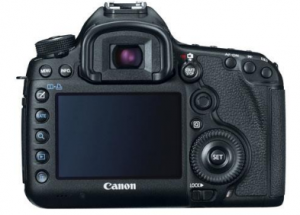
For $1000 budget: Nikon D7200, Canon Rebel T6i, Sony ALPHA SLT-A65
For $2000 budget: Nikon D610, Nikon D7100, Canon EOS 6D, Canon EOS 70D, Canon 7D MK II.
For $3000 budget: Nikon D800, Canon EOS 5D MK III, Nikon D810.
2. Lenses
A good camera and a good lens are just two sides of one coin. A good lens is what highlights your product. Sometimes you will need portrait shots while the other times you will need to take macro shots of your products. There is no single lens to perform all your tasks.
If you are starting your product photography from scratch, for starters you can opt for these lenses.
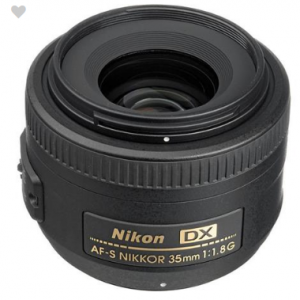
- 50mm or 35mm f1.8
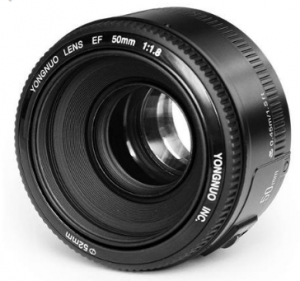
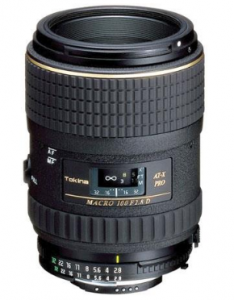
- 100mm or 105mm Macro
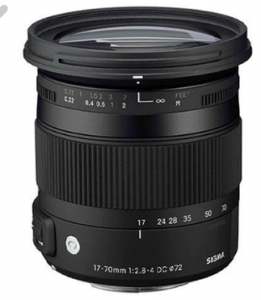
- 70mm
3. Equipment
The very first thing you will need after a camera and a lens, is the tripod. The importance of tripod stand in photography cannot be ignored. A tripod is needed in product photography for stability. Using one reduces shaking and allows you to move and adjust, all the while keeping your camera consistent.
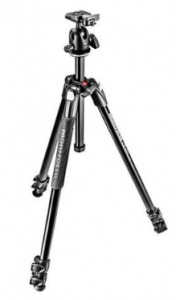
You can check some cheap yet efficient tripods here.
4. Background
Keeping in mind that you are just starting out, lets not get into too much of technicalities and focus more on DIY equipment. To highlight your product, you need a soft background that compliments the product.
What you will need?
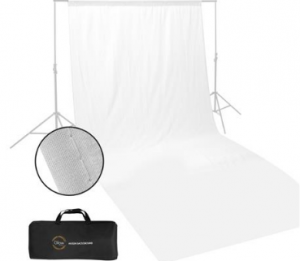
Sheet of white paper: Shooting your subject against the backdrop of white background is recommended in order to prevent distractions. As an option you can also use a white sheet or cloth, white board or illustration board. A clean white background makes the work easy when editing the photographs.
Something like this:
5. Lighting
There is nothing better than natural lighting. Look for places or rooms that are illuminated with good natural lighting. Most important thing is avoiding shadows. If possible keep your product photography set up near a window which has good natural lighting flowing in.
Since you are doing it yourself without the help of any reflectors, artificial lighting or softboxes, you will need to experiment a little by moving around the room. You will need to adjust the lights until you get the perfect mood that you are looking for. Eventually, you will get the perfect setting for the photography.
Get your hands on the tools and shoot! Once you know the basics it’s not that tough. Your photos speak about your actual product online and make it sell.


